Key Takeaways
A smooth livestream starts well before you press Go live. Choose a format that suits your event, test the essentials, and leave room to respond calmly if something changes.
- Verify your channel and choose a streaming method that fits the content.
- Plan the audience experience, schedule, and permissions in advance.
- Prioritize clear audio, stable internet, and thoughtful framing.
- Test the stream before broadcasting and keep an eye on playback and chat.
- Review the recording and feedback to make the next stream better.
Check your channel and choose a streaming method
Before you think about cameras or lighting, make sure your channel is ready to broadcast. YouTube offers several ways to stream, and the right one depends on whether you’re sharing a quick update or producing a planned event. A little preparation here can prevent last-minute surprises later.
Verify your channel and enable live streaming
YouTube requires channel verification to enable live streaming, and channels must have no live-streaming restrictions in the preceding 90 days. The minimum age to livestream is 16. Check the current requirements in YouTube live streaming basics before setting a date, especially if someone else will host or appear on camera.
Once the feature is available, take a moment to explore the channel’s live controls and make sure you can access the account you intend to use. Keep the channel login and recovery details somewhere secure, rather than passing credentials around among event staff.
Compare webcam, mobile, and encoder streaming
A webcam is a straightforward choice for a presenter speaking from a computer, while mobile streaming suits a quick update or an event where you need to move around. An encoder can bring together cameras, microphones, and on-screen elements for a more produced broadcast. You can also stream directly from a compatible game console. This channel verification and stream setup guide offers more context if you’re weighing the options.
Use the comparison as a starting point, not a rule. A simple format is often the best fit when it keeps attention on the speaker and makes the stream easier to manage.
| Method |
Often suits |
Consider before choosing |
| Webcam |
Presentations and conversations from a computer |
Camera position, room sound, and lighting |
| Mobile |
Quick updates and on-location coverage |
Battery life, movement, and connection stability |
| Encoder |
Events with multiple sources or on-screen elements |
Setup time and a thorough technical test |
| Console |
Gameplay streamed directly from a console |
The console’s available controls and instructions |
Whichever method you choose, do a short rehearsal using the same devices and location you’ll use on the day. That makes it easier to spot a weak connection or awkward camera angle before viewers arrive.
Choose a format that fits your event
A one-person announcement does not need the same production plan as a conference session with speakers and audience questions. Think about what viewers need to see and hear, how they might participate, and how much coordination the format requires. A focused interview, demonstration, or presentation can each work well when the content has a clear purpose.
For a larger business event, VG Creations offers professional live streaming production for corporate functions, webinars, conferences, concerts, and more. Its event service can include multi-camera event production, which may suit a broadcast that needs several viewpoints rather than a single fixed shot.
Confirm your stream’s visibility and audience settings
Decide whether the broadcast should be public, unlisted, or private, based on who needs to watch it and how they’ll receive the link. Review the audience setting carefully and select the option that accurately describes the content. If the stream is for a specific group, test the viewing process with someone who represents that audience.
Settings affect both access and expectations, so settle them before promotion begins. If the event has a registration or invitation process, make sure the people sharing the link know which visibility setting you selected.
Plan your livestream
A livestream feels more natural when there is a plan behind it, even if the delivery itself is relaxed. Decide what viewers should take away, then give the broadcast a beginning, middle, and clear finish. These choices help with scheduling, promotion, and the practical details of production.
Set a goal and outline the run of show
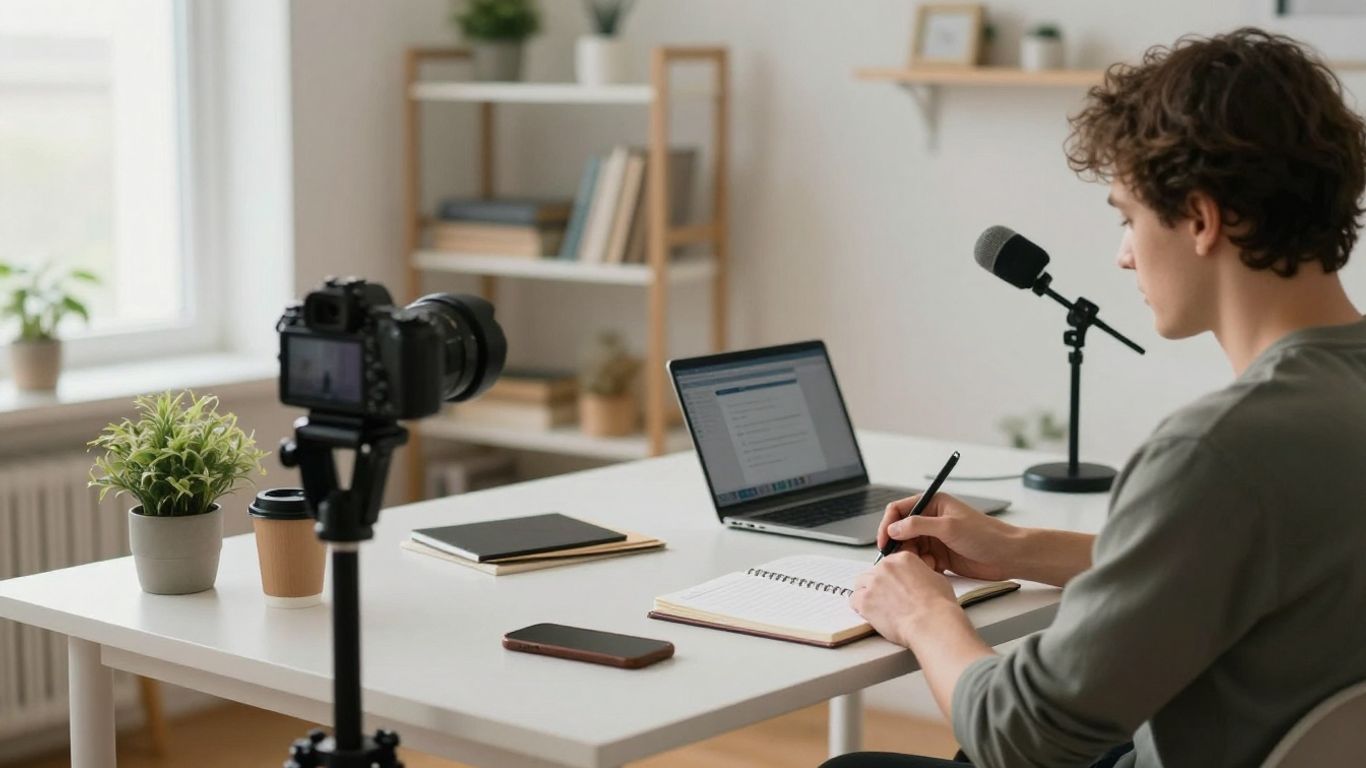
Write one sentence describing what the stream is meant to accomplish. That might be answering audience questions, introducing a service, or sharing a conversation from an event. Then sketch a run of show with an opening, the main segments, any audience interaction, and a closing.
Build in a little breathing room between segments. A concise outline gives hosts and guests confidence without making the broadcast feel like they’re reading a script, and it gives the production team a shared reference if timing shifts.
Schedule the stream and share its link
Scheduling in advance gives viewers a time to plan around and gives your team a stable link to share. Include the date, time zone, and a brief explanation of what the audience can expect. Share the link through the channels your audience already uses, and check that it opens correctly before sending a broad announcement.
For a business event, align the schedule with any registration emails, speaker reminders, or event-page updates. One accurate link is more useful than several messages with different details.
Prepare titles, descriptions, and thumbnail artwork
Use a title that tells people what the stream is about without promising more than the event will deliver. The description can add context, name the intended audience, and explain whether viewers can ask questions. Make the thumbnail easy to understand at a glance; a clear image and restrained design usually read better at a small size.
Keep those details consistent wherever you promote the broadcast. When people see the same subject and timing in each place, they can recognize the event and know what they’re being invited to watch.
Check music, guest, and footage permissions
A live event can include more material than you initially expect: music playing in a room, slides, guest appearances, or footage captured elsewhere. Confirm that you have permission to use each element in a livestream and in any recording you plan to keep or share afterward. Ask guests how they want to be introduced and make sure they understand when the stream will be public.
A short permissions review can be part of the production handoff:
- Confirm permission for music, images, and video clips.
- Tell guests how and where the stream will be shared.
- Check that presentation slides are cleared for broadcast.
- Identify who can approve last-minute content changes.
Keep a record of decisions and raise uncertain items before the broadcast. It is far easier to replace a questionable clip or remove background music in advance than to deal with it during a live segment.
Set up your equipment and space
You don’t need a complicated studio to make a livestream pleasant to watch. What matters most is that viewers can hear the speaker, see them clearly, and follow the content without distractions. Start with the equipment you have, then improve the parts that most affect the audience experience.
Choose a camera and microphone
A phone or webcam can be enough for a simple stream, while a dedicated camera may suit a more planned production. Whatever you use, check that the lens is clean and that the camera sits at a comfortable eye level. For most spoken content, a microphone near the speaker is a better starting point than relying on a distant built-in mic.
Listen to a test recording through headphones. Clear, close audio makes a conversation easier to follow, even when the picture is simple. If more than one person will speak, check how each voice will be captured before the event begins.
Check your internet connection
Use the connection available at the actual streaming location, since performance can differ from one room or network to another. If possible, favor a wired connection and ask others nearby to avoid bandwidth-heavy activity during the broadcast. Run a test at the resolution and settings you plan to use, then leave time to adjust if the feed stutters.
A backup plan can be as simple as knowing where a second connection is available and who will handle a restart. The goal is not to predict every failure, but to avoid making basic decisions under pressure.
Light and frame the shot
Place the main light in front of the speaker, not directly behind them, and avoid a bright window in the background. Frame the shot with a little space above the head and enough room for natural movement. If the stream includes a demonstration or more than one person, check that every important detail stays visible.
Look at the frame on the device viewers will use, if you can. A composition that seems spacious on a large monitor may feel cramped on a phone.
Reduce background noise and distractions
Choose a quiet room, silence notifications, and remove anything in the background that could pull attention from the presentation. Close doors and windows where practical, and listen for air conditioning, fans, or traffic before the stream begins. If the location is busy, consider a microphone that can be positioned close to the speaker.
For a larger event, VG Creations’ professional live streaming production service can include multi-camera setups, advanced streaming software, and high-speed internet with backup systems. Those elements may be relevant when a single-camera setup and local connection are not enough for the event’s needs.
Configure your YouTube stream
With the plan and equipment in place, create the broadcast and match the settings to the production you’ve prepared. Work through one choice at a time, and avoid changing several settings just before going live. A deliberate test gives you a chance to confirm that the stream looks and sounds right from a viewer’s perspective.
Create a stream in YouTube Studio
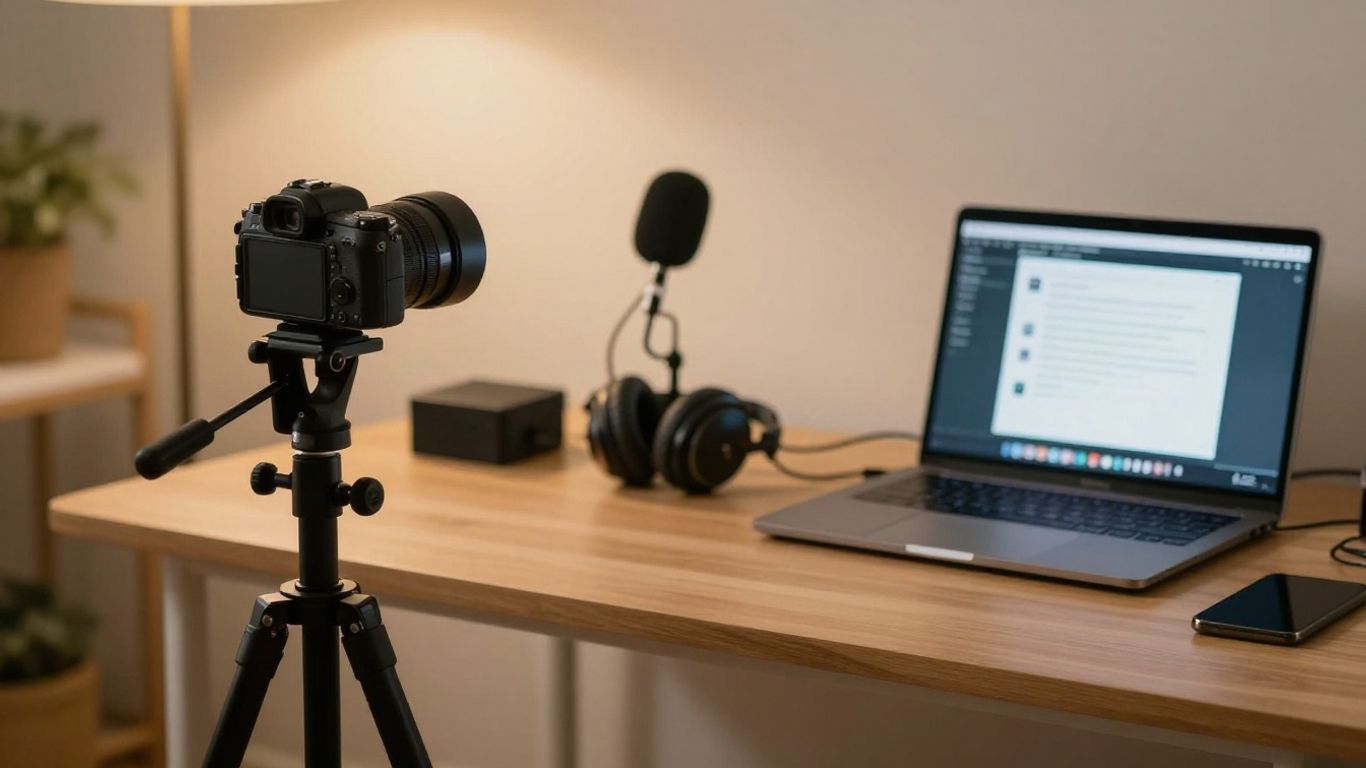
Open YouTube Studio while signed in to the channel that will host the broadcast, then create or select the stream you intend to use. Add the details you prepared, including the title, description, visibility, and audience setting. Take a moment to verify them before sharing the event link more widely.
If your broadcast is scheduled, compare its start time and link with the version you sent to guests or viewers. A final check helps ensure everyone is working from the same event information.
Select resolution, latency, and encoder settings
Choose a resolution and stream settings that your connection and equipment can sustain reliably. Higher quality can require more bandwidth, so stability matters more than choosing the highest available option. If you’re using an encoder, match its settings to the stream setup and follow the equipment’s instructions.
Latency is a tradeoff between how quickly viewers see the broadcast and how much delay the stream can tolerate. Consider whether real-time interaction is central to the event, then select an option that fits that need and test it before the audience arrives.
Add a stream key securely
If you’re using an encoder, connect it to the broadcast with the stream key provided in the streaming setup. Treat that key like a password: share it only with people who need to configure the stream, and do not display it on screen or include it in public notes. If it may have been exposed, replace it before the event.
Confirm that the encoder is connected to the intended broadcast, particularly if the channel has several scheduled streams. A quick check of the event title and destination helps avoid sending the feed to the wrong place.
Test your video and audio before going live
Run a private or unlisted test when possible, using the same camera, microphone, encoder, and network you’ll rely on for the real event. Watch the playback on another device and listen for echo, clipping, or unexpected background noise. Check that the framing and any shared material are readable at the size viewers are likely to use.
A test is most useful when it resembles the actual broadcast rather than a quick glance at the preview. Fix what you can, then repeat the check so you know the change helped.
Go live and manage the broadcast
The start of a livestream can feel like a lot is happening at once. A simple routine helps: confirm the feed, welcome people, and then guide the audience through the plan. Keep one person focused on the content and, if the production allows, another watching the stream and handling incoming questions.
Start the stream and confirm playback
Begin the broadcast according to the controls in your chosen setup, then verify that viewers can actually see and hear it. Check the live playback from a second device rather than relying only on the production preview. Once the feed is confirmed, the host can begin without rushing through the opening.
If playback takes a moment to appear, pause briefly and check the stream status before repeating actions. A calm start gives your team time to distinguish normal delay from a genuine connection problem.
Welcome viewers and monitor live chat
Open with a short welcome that explains what’s happening and, if helpful, how viewers can participate. Have someone keep an eye on live chat so the host can respond to relevant questions without losing the thread. Set expectations about when questions will be answered, especially if the broadcast has planned segments.
A moderator can remove distracting or inappropriate messages and bring useful questions to the host’s attention. The host does not need to answer everything in real time; a few thoughtful responses can make the stream feel more conversational.
Handle delays, dropped connections, and other issues
If the picture freezes or sound drops, communicate briefly with viewers if the stream is still available, then check the connection and equipment in a consistent order. Avoid changing multiple settings at once, since that can make it harder to identify what caused the issue. If you lose the feed, use the fallback plan you prepared and let viewers know where they can find an update when appropriate.
A short pause is usually better than filling the silence with guesses. Once the stream is stable again, give viewers a quick orientation and continue from the last clear point.
End the broadcast safely
Close with a brief thank-you and any next step viewers need, such as where to find related information. Confirm that the host has finished before ending the broadcast, and then use the controls for your chosen streaming method to stop the feed. Make sure the stream is no longer live before packing equipment away.
Afterward, check that the event has ended as intended and that the team knows who will handle the recording and any follow-up communication. A clear wrap-up keeps the end of the broadcast from feeling abrupt.
Review the stream and improve the next one
The work isn’t quite finished when the live feed ends. Check that the recording is available, note any technical or timing issues, and gather feedback while the details are fresh. Even a small review can turn one broadcast into a more reliable process next time.
Check the recording and processing status
Look for the stream recording and confirm that processing has completed before sharing it as a replay. Watch the beginning, a few points in the middle, and the ending to make sure the recording is usable and the audio stays clear. If a section needs attention, note the timestamp and decide whether to edit, trim, or leave it as is.
Don’t assume that a successful live broadcast means every part of the replay is ready to publish. A quick review helps you spot a missing opening, a long pause, or an issue that viewers may have mentioned.
Review analytics and audience feedback
Use the available analytics to understand how people watched and when they stayed or left, then compare those signals with chat and direct feedback. Numbers give context, but they don’t explain everything; a drop in attention might reflect the topic, timing, or a technical interruption. Look for patterns rather than treating one stream as a final verdict.
Write down one or two practical changes for the next broadcast. A short list of specific adjustments is easier to act on than a general note to make everything better.
Repurpose clips for other channels
A recording may contain a concise answer, a useful demonstration, or a memorable moment that works beyond the full replay. Choose excerpts that make sense on their own, and add the context viewers need if they did not watch the live event. Check permissions and platform requirements again before sharing any edited segment.
VG Creations offers video editing services, which may be useful when a recording needs a more considered edit before it is shared. Whether you edit in-house or seek help, keep the selected clips aligned with the purpose of the original event.
Update your setup based on what you learned
Review your notes with the people who hosted and supported the stream. Keep the changes that solved real problems, and avoid adding equipment or steps without a clear reason. Update the run of show, test routine, or permissions process while the lessons are still easy to recall.
Over time, a consistent preparation process can make livestreaming feel less improvised. The aim is not a flawless production every time; it is a broadcast that serves its audience and gets a little easier to deliver.
Conclusion
A successful YouTube livestream is built from a series of practical decisions: choose a fitting format, plan the viewer experience, test the equipment, and stay attentive during the broadcast. Review what happened afterward, keep what worked, and make the next stream more considered than the last.
Frequently Asked Questions
Do I need to verify my channel before livestreaming?
Yes. Channel verification is one of the requirements for enabling live streaming, and you should check the current account requirements and restrictions before scheduling an event.
Which streaming method is best for a beginner?
A webcam or mobile device is often a manageable place to start for a simple presentation or update. Choose the method you can test confidently with the equipment and connection available.
How far in advance should I schedule a livestream?
Schedule it early enough to test the setup and share the link with viewers, guests, or event staff. The right lead time depends on how much promotion and coordination the broadcast needs.
Should I make my livestream public or unlisted?
Choose based on who should be able to watch. A public stream is open to viewers, while an unlisted stream is generally shared through its link; confirm the current visibility behavior before relying on it for a restricted audience.
What internet connection do I need for a livestream?
Use a stable connection that can support the settings you selected, and test it at the streaming location. Leave room for other network activity and have a fallback plan if the connection becomes unreliable.
Can I use music in a livestream?
Only use music you have permission to include in the live broadcast and any recording you plan to share. Check the rights for each track before the event rather than assuming that background music is cleared.
What should I do after a livestream ends?
Confirm that the broadcast has stopped, check whether the recording is available, and review playback and feedback. Note a few specific improvements while the event is still fresh in your mind.
