Key Takeaways
Finding the right space for your show involves balancing technical requirements with your budget and location needs. This guide helps you navigate the search for a professional recording environment.
- Define your show’s format and visual style before looking for a space.
- Verify that the studio offers professional-grade microphones and lighting equipment.
- Evaluate location and parking accessibility to ensure your guests can arrive easily.
- Always ask about potential hidden costs like setup fees or raw file usage rights.
- Consider working with an on-site engineer to handle technical complexities during the session.
Determining your production needs
Planning your recording environment is the first step toward creating high-quality content. You need to identify whether you are strictly producing audio or crafting a visual experience for platforms like YouTube, as this decision dictates your search for the right podcast studio rent. By understanding how to choose the best podcast studio in Tampa, you align your logistical requirements with spaces that offer adequate technical infrastructure.
Defining your show’s format and visual style
Your format determines the aesthetic requirements of your studio. A solo interview podcast requires a very different set-up than a multi-guest round table discussion, and your studio choice should reflect this distinction to avoid wasted space or overcrowding.
Calculating the required recording duration
Estimating your recording time is vital, as most studios charge by the hour. Be sure to include a buffer for initial setup, guest placement, and final sound volume checks before the actual recording begins.
Identifying the necessary number of microphones and cameras
Before you book, ensure the studio has enough input channels for your guests. If you need a multi-cam setup, confirm that the studio rental accommodates your specific camera angle requirements to provide a seamless professional production experience.
Identifying essential studio equipment and tech support
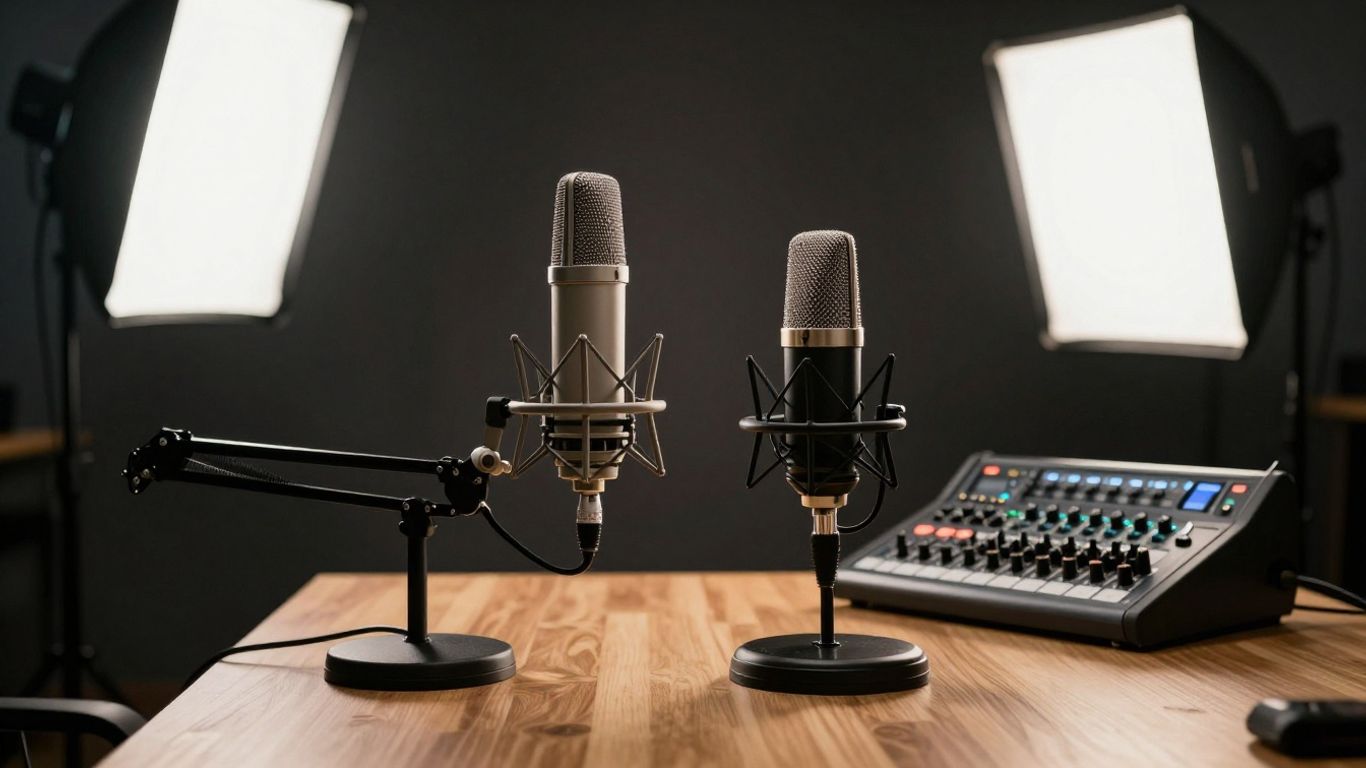
Your equipment choice directly affects the quality of your audio and video assets. Relying on essential podcast equipment helps you capture clear, professional content that avoids common technical issues found in home-baked setups. It is essential to ensure a studio provides reliable, industry-standard gear that is pre-configured for your arrival.
Evaluating audio interface and professional microphone quality
Quality audio is the baseline for any successful podcast session, ensuring your voice remains consistent throughout your episodes. Use the table below to cross-reference common equipment benchmarks often found in rental studios.
| Feature |
Professional Standard |
Typical Studio Capacity |
| Microphone Type |
Condenser or Dynamic |
2-6 units |
| Audio Interface |
Multi-channel XLR |
4+ channel input |
| Acoustic Treatment |
Sound-dampened panels |
Fully soundproof walls |
Ensuring professional lighting for video podcasts
Great video requires more than just a camera; it relies on consistent light placement that removes harsh shadows. When you look at a rental space, check for balanced key, fill, and backlighting setups.
Confirming available noise-cancellation and acoustic treatment
Background humming or street traffic can ruin an otherwise perfect recording. Professional studios utilize soundproofing foams and baffles to maintain a clean acoustic environment, ensuring your voice is the only thing listeners hear.
Evaluating location and accessibility
Even the best studio is a poor choice if your participants cannot reach it in time. Understanding how to choose the best podcast studio in New York City or any major hub requires a realistic look at how the environment affects your guest management and overall production workflow.
Considering transit routes and parking availability
If you invite busy professionals or guests for interviews, clear instructions on parking or nearby transit are non-negotiable. Accessibility removes a massive stressor from the pre-production phase of your recording day.
Analyzing the atmosphere and aesthetic of the workspace
Your studio environment should match your brand voice. A sleek, modern aesthetic communicates professionalism, while a cozy, conversational setup can help guests feel more comfortable and ready to open up on camera.
Checking local availability for consistent recording dates
Consistency is key to podcasting success. Check if your preferred location allows you to lock in specific recurring dates to maintain a predictable production schedule throughout the year.
Understanding studio rental pricing models
Managing your budget effectively requires looking beyond the sticker price. Many studios offer varied models, so it pays to ask for a breakdown of costs to ensure you aren’t paying for features you do not need, or conversely, missing out on value-adds that save you time.
Comparing hourly rates versus package deals
Hourly rates are perfect for one-off projects, but if you record multiple episodes in a month, package deals can provide significant savings. Always ask about volume discounts if you plan on consistent production.
Factoring in hidden costs like setup and teardown fees
Some spaces charge for the time it takes to reset the studio after your visit. Clarify with the manager whether your bookable hour includes this transition or if it is billed as extra time.
Clarifying usage rights for raw media files
Confirming who owns the raw footage is critical for your future content strategy. Ensure you have the right to take your raw files home, as this gives you the flexibility to adapt your content later using professional video production services or internal editing teams.
Assessing the importance of on-site production assistance
Having an expert in the room is one of the most effective ways to ensure your recording succeeds without technical glitches. Their presence changes the production from a stressful technical hurdle into a smooth, creative session.
Recognizing the value of a dedicated sound engineer
A sound engineer manages gain staging and levels in real-time. By monitoring your audio, they ensure consistent volume across all microphones, which saves you hours of work during the post-editorial phase.
Leveraging technical support for live streaming integration
Pushing a live stream is far more complex than standard recording. On-site staff can bridge the connection to your platform, ensuring your live audience sees a smooth, high-quality broadcast.
Utilizing post-production and editing expertise on-site
When studio staff knows your goals, they can flag issues during the recording that might be hard to fix later. Their insights often result in a much tighter, more effective final cut.
Preparing your team for a studio recording session
Once you have found your location, success depends on how well you organize your team. Proper preparation turns a day of recording into a highly optimized content generation session that maximizes every minute in the studio.
Developing an efficient pre-production checklist
Write down exactly what happens from the moment you walk through the door until you leave. A solid checklist helps everyone stay on task and reduces the likelihood of forgetting crucial secondary equipment like memory cards or external hard drives.
Managing time for hardware testing and soundchecks
You should follow a standard schedule to ensure all hardware is functional before you start recording. A typical pre-session phase should include these steps:
- Connect all microphones and verify phantom power settings.
- Run a 60-second test recording to capture audio levels.
- Adjust lighting according to the guest’s seating position.
- Confirm camera focus and frame density on monitor screens.
Storing and backing up your project assets securely
Data management is the final step in protecting your work. Always keep a mobile hard drive or secure cloud link ready to pull your files immediately after the session, ensuring your project assets remain under your control.
Conclusion
Selecting the perfect space for your show is a strategic investment in the quality of your brand. By systematically evaluating your format, the studio technology, local accessibility, and the expertise of your production partners at VG Creations, you can secure an environment that allows your message to shine. Approach each session with a clear plan and the right support to turn your podcast into a long-term professional asset.
Frequently Asked Questions
How far in advance should I book my studio hours?
It is often best to book your studio at least two to four weeks in advance to ensure availability for your preferred recording slots.
Can I bring my own external microphones to the rental?
Most studios allow you to bring supplemental gear, but you should always verify compatibility with their existing audio interfaces beforehand to avoid setup delays.
Does the studio provide any editing support after the session?
Many rental facilities offer basic file transfers, but full-scale post-production is often a separate service or requires a specific studio package, so always clarify this during the booking process.
Is it better to rent audio-only or video-ready spaces?
If you have any plans to eventually share clips on social media, booking a video-ready space from the beginning saves you from needing to re-record your content later.
What happens if I go over my booked time?
Studio policies on overages vary, but most will charge an hourly penalty; it is generally safer to book a slightly longer block than you anticipate needing.
Should I arrange for my own sound engineer?
Many studios include a sound engineer as a standard feature of their rental. If they do not, you should determine whether their on-site staff handles basic audio monitoring for you.
Does the studio rental price include the cost of lighting equipment?
Lighting should typically be included in standard studio rental packages, but confirm this with your provider to see if you have access to adjustable studio lights.