Key Takeaways
A clear process gives each decision a purpose, from the first brief to the final export. Treat the stages as connected steps, not isolated tasks.
- Define the audience, goal, and core message before choosing a format.
- Use a script and shot plan to make filming more focused.
- Capture clean picture and sound, including useful supporting footage.
- Edit for clarity, then review and revise against an agreed scope.
- Prepare platform-ready files and measure results against the original goal.
1. Preproduction: Plan the video
Good video production starts well before anyone presses record. This is the time to agree on what the video needs to accomplish, who it should reach, and what resources are available. Decisions made here shape the script, shoot, edit, and final delivery. A thoughtful production planning guide can help teams turn an early idea into a workable plan.
Define the goal, audience, and core message
Start with the change you want the viewer to make: understand a service, trust an organization, attend an event, or take another clear next step. Then describe the intended audience in practical terms, including what they already know and what questions they may bring. A focused message makes it easier to decide what belongs in the video and what can be left out. Keep the central idea simple enough that someone can repeat it after watching.
Choose a concept and develop the script
Once the purpose is clear, choose a format that suits both the subject and the audience. A founder interview, event recap, customer story, or short explainer each creates a different viewing experience. The table below can help connect the kind of story to the job it needs to do.
| Video concept |
Useful when the goal is to… |
Planning question |
| Interview |
Share expertise or perspective |
What should viewers understand about the speaker? |
| Event recap |
Extend the value of an event |
Which moments will matter after the event ends? |
| Customer story |
Let a client describe an experience |
What permissions and details need confirmation? |
| Explainer |
Make a process easier to understand |
Which steps are essential to the message? |
Use the format as a starting point, not a template to follow blindly. A script should sound natural when spoken aloud, with room for pauses and a human cadence. For a production process that includes planning through delivery, see this five-stage production overview.
Create a storyboard or shot list
A storyboard sketches the video moment by moment; a shot list names the footage the crew needs to capture. Either can help the team see what is missing before the shoot begins. Include essential visuals, interview prompts, transitions, and any details that will be difficult to recreate later. For unscripted projects, even a loose list of must-have moments can keep the day on track without making it feel rigid.
Set the budget, schedule, and production team
A realistic plan accounts for more than filming hours. Allow time for preparation, location access, talent availability, editing, review, and delivery, and be clear about who approves each stage. VG Creations asks prospective clients to fill out a form and book a discovery call with its Director of Cinematography, a practical first step for discussing a project plan. Before confirming the schedule, make sure the team has named owners for these essentials:
- The person responsible for decisions and approvals.
- The filming locations, access times, and any required permissions.
- The people appearing on camera and their availability.
- The review window and expected final deliverables.
Writing these responsibilities down helps prevent small uncertainties from becoming shoot-day delays. It also gives the team a shared reference when scope or timing needs to be revisited.
2. Production: Capture the footage
Production is where preparation becomes recorded material. The crew works through the plan while responding to the realities of a location, schedule, and the people on camera. For many projects, a calm and organized set makes it easier to capture natural performances and dependable sound. VG Creations offers corporate video production and event video production, services that call for thoughtful coordination between the plan and the moments unfolding on site.
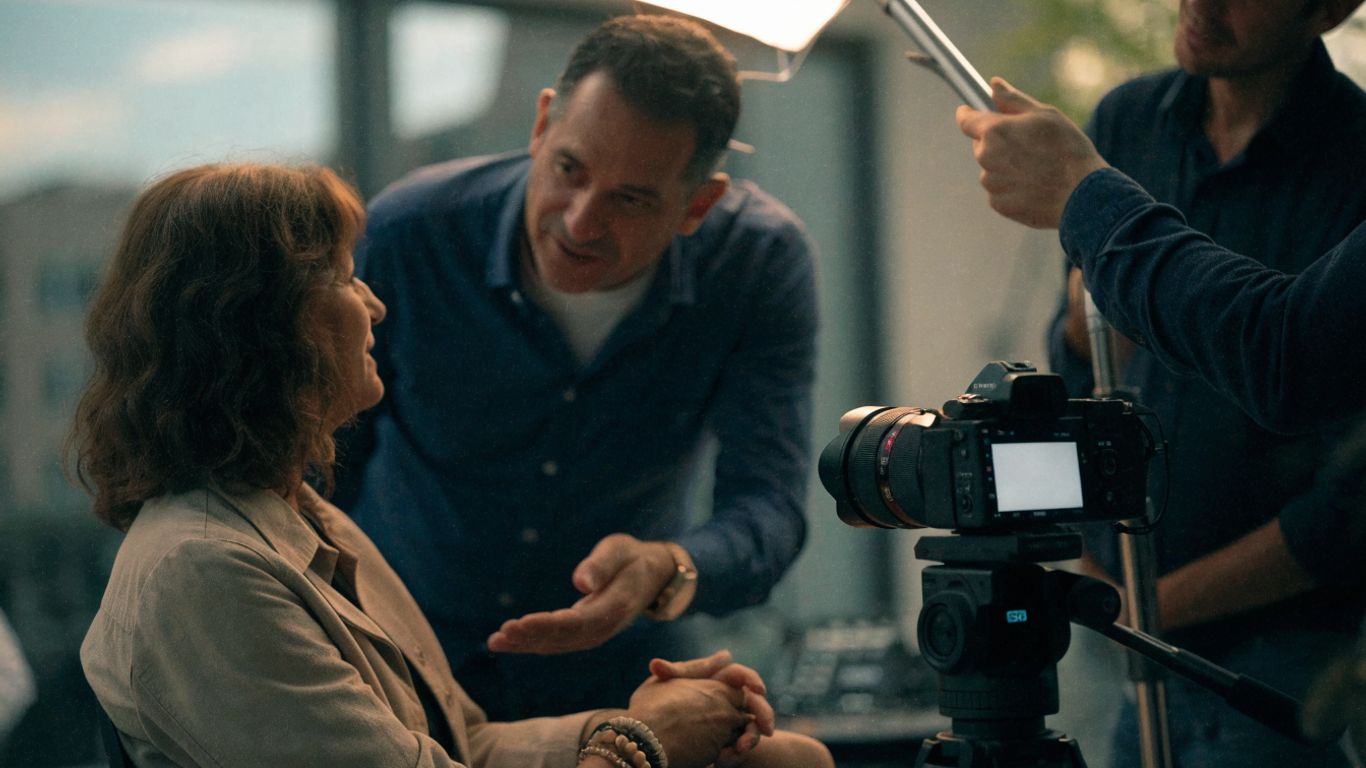
Prepare the location, equipment, and talent
Arrive with enough time to check the space, confirm access, and arrange the equipment before filming begins. Look for distracting background activity, reflections, noise, and anything that could interfere with movement or camera placement. Give on-camera participants a clear idea of what will happen, where to look, and how long the process may take. A welcoming, unhurried start often helps people settle into the room.
Set up lighting, camera, and audio
A clean image matters, but clear sound is just as important. Position the camera for the intended framing, shape the light to suit the subject and location, and listen for hums, echoes, or nearby activity before recording. Check focus, exposure, framing, and audio levels with a short test. These small checks reduce avoidable problems when the footage reaches the edit.
Direct the shoot and capture planned shots
Follow the shot plan, but stay alert to moments that feel more genuine than the expected version. Give interviewees room to finish a thought, then ask a follow-up when an answer needs a little more detail. For scripted scenes, concise direction and a clear sense of the intended tone can help talent deliver a relaxed performance. A video production stages overview also describes the broad relationship between planning, recording, and editing.
Use the planned shots as a guide rather than a reason to rush past a useful moment. A quick review of the footage during breaks can reveal whether an important angle, line, or detail still needs to be captured.
Record backup takes and supporting footage
A second take gives the editor options if a line is unclear, a delivery feels stiff, or a technical issue appears later. Supporting footage—such as hands at work, room details, audience reactions, or a wider view of an activity—can also help bridge edits and add context. Capture a little variety in framing and movement, while keeping each shot relevant to the story. Extra footage is most useful when it serves a clear purpose rather than simply adding volume.
3. Post-production: Shape the story
Post-production turns recorded material into a coherent viewing experience. Editors organize what was captured, build the sequence, and refine the elements that guide attention. The best choices usually serve the message rather than call attention to the editing itself. VG Creations describes its post-production services as elevating the feeling of videos and brands, with the audience in mind.
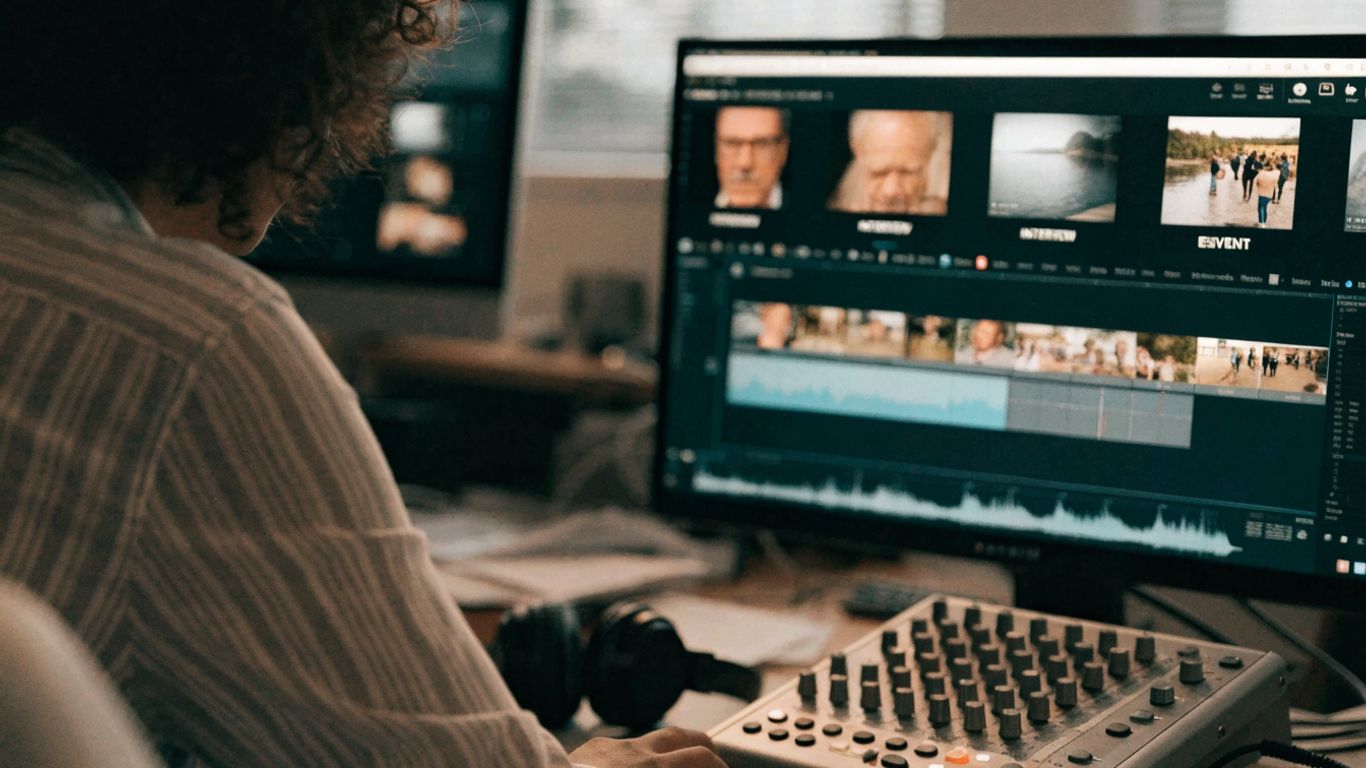
Organize footage and build a rough cut
Begin by creating a clear folder structure and labeling footage, audio, graphics, and project files consistently. Review the recordings, mark useful moments, and note any gaps that may affect the story. Then assemble a rough cut that establishes the basic order of scenes and ideas, without spending too long polishing transitions. This early version helps the team see whether the material supports the original goal.
Refine the edit, pacing, and transitions
Once the story is visible, tighten the sequence so viewers can follow it without unnecessary repetition. Leave enough space for important ideas to land, while removing pauses that slow the piece for no reason. Transitions should feel natural and help the viewer move between moments; they do not need to be elaborate. Read the cut as an audience member would: does each scene earn its place, and does the ending feel complete?
Add music, sound design, and voice-over
Sound can shape the mood and make a sequence feel connected, but it should not compete with dialogue or essential information. Choose music that fits the tone and confirm that its use is permitted for the intended distribution. Balance speech and background audio, and listen to the mix on more than one playback device when possible. If voice-over is needed, record it after the edit has a stable structure so the narration fits the actual story.
Apply color correction, graphics, and captions
Color correction helps footage feel consistent across shots, especially when lighting changed during filming. Graphics can identify speakers or clarify information, but a restrained approach keeps attention on the subject. Captions improve access and make dialogue easier to follow in situations where sound is unavailable. Review spelling, timing, contrast, and placement so these finishing details support the video instead of distracting from it.
4. Review and revisions: Finalize the video
A review stage gives the people responsible for the project a chance to catch issues before publication. It works best when the team knows what kind of feedback is needed and when it is due. Invite reviewers to judge the video against the original goal, not simply personal preference. Keep the process organized so each round moves the work toward approval.
Share a review copy with key stakeholders
Send reviewers the same version and provide a clear deadline, the project purpose, and any specific questions you want them to consider. Ask them to note timecodes so the editor can locate each point quickly. When several people are involved, identify who has final approval and how conflicting comments will be resolved. This prevents the review from becoming a collection of disconnected opinions.
Collect clear, consolidated feedback
Feedback is most useful when it describes a specific issue and the change that would address it. Comments such as “the opening feels slow” are a helpful start; a timecode and suggested adjustment make them easier to act on. Gather notes into one document rather than forwarding separate messages over several days. Consolidation makes patterns visible and helps distinguish a genuine problem from a one-off preference.
Make revisions within the agreed scope
Before editing, sort comments into essential corrections, useful improvements, and requests that would change the original direction. Confirm any new work that affects timing, budget, or deliverables before proceeding. This is not about resisting feedback; it is about keeping revisions purposeful and predictable. A clear scope lets the team make changes without losing sight of the approved brief.
Check permissions, branding, and technical quality
Before sign-off, confirm that the video uses approved names, logos, and visual assets, and that releases or other permissions are in place. Watch the full piece once without pausing to catch flow problems, then check details such as audio clarity, caption accuracy, image consistency, and spelling. Verify that nothing has slipped into the cut that should remain private. A final quality check is easier when one person owns the checklist and records approval.
5. Delivery and distribution: Publish the video
The finished edit still needs to be prepared for the places where people will see it. Confirm the intended platforms, audience, and publishing dates before exporting, since these choices affect aspect ratio, file settings, and supporting assets. Keep an organized master copy alongside the versions prepared for use. Distribution is part of the plan, not an afterthought once the edit is complete.
Export versions for each platform
Export according to the technical requirements of each destination, including dimensions, file type, and any duration limits. If a project needs both a wide version and a vertical cut, review each one on its own rather than assuming a crop will work automatically. Check the exported files from beginning to end for audio, picture, and caption issues. Use clear filenames so the publishing team can tell versions apart.
Add titles, captions, and thumbnail assets
Prepare a concise title and supporting description that make the video’s subject easy to understand. Captions should be checked against the final audio, not an earlier edit, and thumbnail artwork should remain legible at small sizes. Keep the language and visual style consistent with the intended audience. These details help the video make sense before someone presses play.
Publish and promote the finished video
Coordinate publication with the channels and people most likely to reach the intended audience. A video may be shared in a newsletter, on a company page, or as part of a broader campaign, depending on its purpose. Give collaborators the correct file, copy, and timing so they can share the same approved version. Promotion works better when it reinforces the video’s message instead of repeating it without context.
Track performance against the original goal
Choose measures that reflect what the video was meant to do. Views may help describe reach, while completion, clicks, inquiries, or event registrations may provide a clearer signal for other goals. Compare results with the original objective and note what the team learned about the audience, format, and distribution. Use those observations to make the next production more informed, not to judge a single video by one number alone.
Conclusion
The video production stages work best as one connected process: plan with a clear purpose, capture what the story needs, shape the material carefully, review it with intention, and deliver it for the right audience. When each phase has a defined role, creative decisions become easier to explain and the finished video has a better chance of serving its original goal.
Frequently Asked Questions
What are the main stages of video production?
A practical workflow includes preproduction, production, post-production, review and revisions, and delivery and distribution. Each phase prepares the work for the next, from early decisions through publication.
What happens during preproduction?
Preproduction is where a team defines the goal and audience, develops the concept and script, plans shots, and agrees on budget, schedule, locations, and responsibilities.
How long does video production take?
Timing depends on the video’s length and complexity, the availability of people and locations, and how many review rounds are needed. Agreeing on milestones early makes the schedule easier to manage.
Why is a shot list useful?
A shot list records the footage needed for the story and helps the crew track it during filming. It can also reveal missing details before the shoot, when they are easier to plan for.
What is included in post-production?
Post-production commonly includes organizing footage, editing the story, refining pacing, working on sound, and preparing graphics and captions. The exact tasks depend on the project and its intended use.
How many revision rounds should a video include?
There is no single number that suits every project. Set the number of review rounds and the approval process in advance, and consolidate comments so each revision addresses clear, agreed changes.
What should be checked before publishing a video?
Review permissions, branding, captions, audio, picture quality, spelling, export settings, and the correct platform versions. It is also useful to confirm that the final video still supports the goal set at the beginning.